Garden Tunnel Trellis Made with Cattle Panels

Regardless of the amount of growing space you have for vines, going vertical is both a space and labor saving option. Vertical gardening allows a small area, at the base, to be utilized for growing vegetables or flower vines. It doubles your available growing area, which for me is important because I have limited areas of full sunshine which is vital for growing sun loving vegetables and vines.
I gave up on wooden trellises many years ago because in the humid and buggy climate of central Florida, one season is about their life span. My husband has, over the years, made me a few out of pressure treated wood that have lasted, but between the cost of the wood and the amount of time and effort required, it is really hardly worth the investment. Even with pressure treated lumber, the moisture, mold, and wood boring insects greatly shorten their life. I generally opt for metal trellises, but they are usually very cost prohibitive and I rarely splurge on them. A typical,12” x 56”, metal trellis is too small to grow even a small, well behaved vine, like scarlet morning glory, and the cost is usually around $15 – $20. The big box stores do sell a large variety of them to choose from, but I hate to waste money like that. Anything large enough to actually use in a garden costs a small fortune anyway. A garden tunnel trellis costs around $80 and if you already have fence supplies the panels themselves only cost $40.
Gardeners.com sells a “squash tunnel” for $100. I have my doubts about it not rusting since it’s only coated steel, but the overall reviews are good. However, the tunnel itself is only nylon netting which I know won’t last a season. At my place it wouldn’t last a week with the resident squirrels and it might actually hang up my songbirds so I’ll put my money towards a pair of sturdy cattle panels from Tractor Supply. Besides, it looks like it would take a while to put the squash tunnel together, whereas a two cattle panel trellis takes about twenty minutes to erect.
The biggest hurdle we found was getting the cattle panels home because they are very long and bendy. Gently bending them into a u-shape is the easiest way to get them home in a small trailer. Be sure to gently bend them and avoid creasing or folding them or your tunnel will end up being misshapen. Trying to bend them back into shape would most likely break the tack welds on the panels. In any case, bending the panel wire by hand is quite difficult, so being careful when loading will save a bunch of work during setup. Working on this project with two people is ideal and the second person really just needs to be available to temporarily hold things in place.
Cattle panel trellis mentions have been roaming the internet for years and I certainly can’t take the credit for the idea, but wish that I could. I remember seeing a post a few years ago on a gardening forum about using a cattle panel as a trellis. Since I live in rural central Florida I have a little bit larger green space than most and I knew that one panel just wasn’t going to be large enough for me. So began my garden tunnel trellis experience using two cattle panels clipped together. It was an experiment that I’m glad my husband agreed to help me try because now I have three of them and wish I had even more.
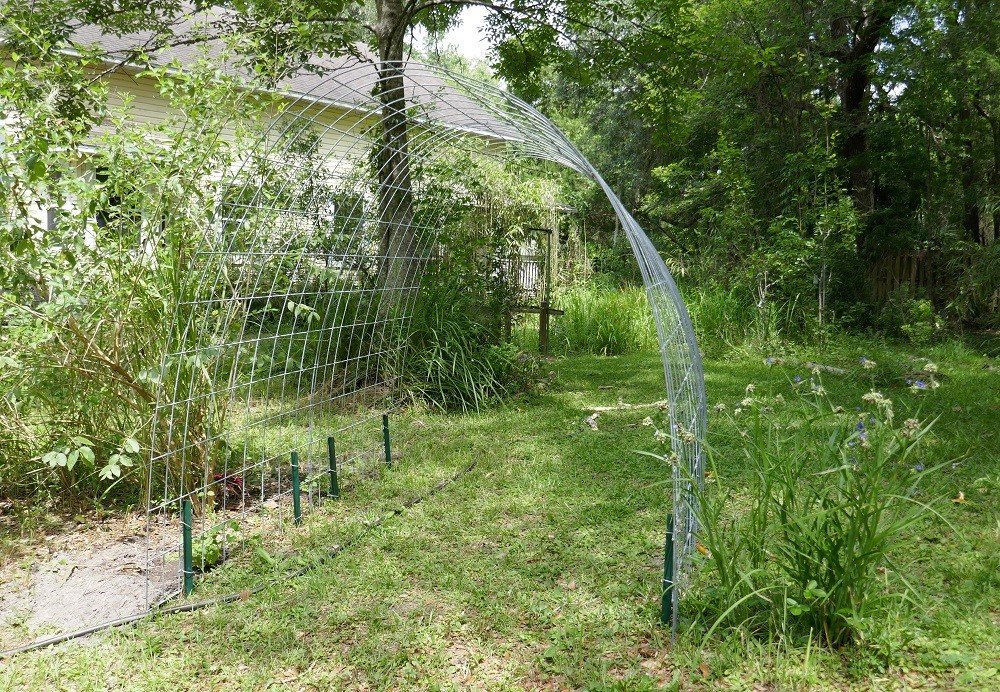
The only drawback with the project, if there is one, is the logistics of getting the panels home because they are 16 feet long and cumbersome. But, if you have someone to help you, and around $80 in your garden budget, it is so worth the effort because in a matter of minutes you can create a very long-lasting, beautiful, garden tunnel trellis. I purchased my cattle panels at Tractor Supply, but they are sold at other stores so just check around for the best price and possibly free delivery. Feed stores are a good place to look, but Tractor Supply has always been the cheapest in my area. Each panel is 16 feet long and 50 inches high. For the garden tunnel trellis I use two set up on their ends to form the tunnel. Two panels ends up making the completed garden tunnel dimensions 76” high x 69” wide x 100” long. If you bring the ends closer together, making the tunnel narrower, the height can be raised even more, but I like to keep mine low enough so I can easily reach the vines.
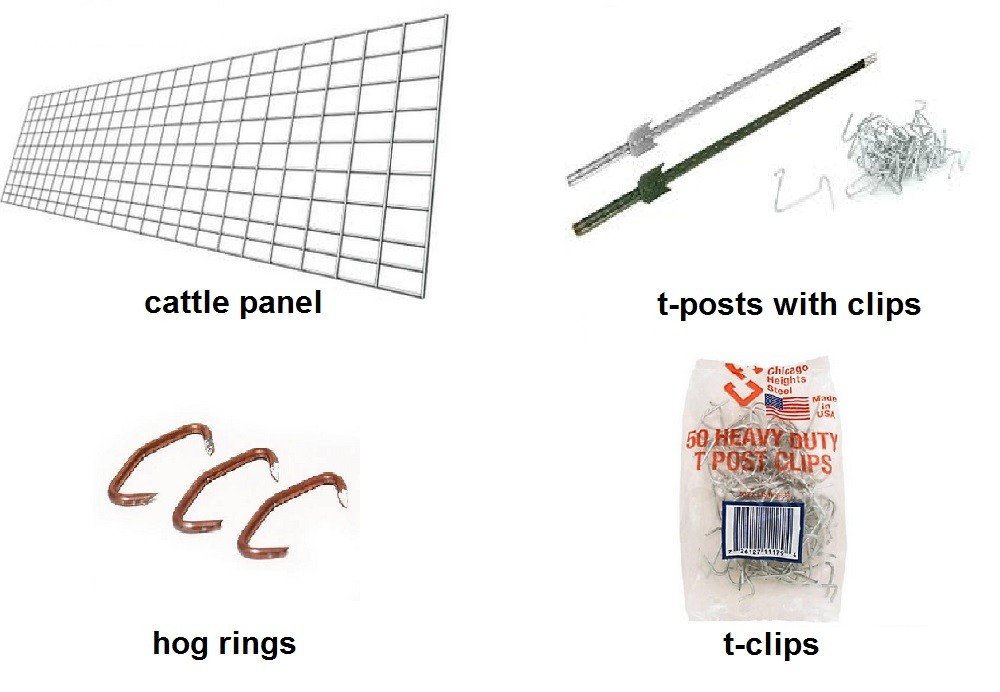
The current total cost for the project at Tractor Supply is $82.48, but if you already have fence supplies that cost can be cut down. If you have tools to cut the metal posts in half the cost can be reduced even more. Each panel needs four posts, so a total of eight, but if you can cut the posts in half you will only need four. Since the panels bow naturally into a u-shape, when placed on their ends, not much post strength is needed at the base to keep them in place so the four foot posts can actually be cut in half, to 2 feet in height with only one foot of the post in the ground. Wooden fence posts can be used, but if your garden tunnel is to be permanent, and long lasting, I would recommend metal stakes. Also, digging holes, and setting posts, takes a while and makes a mess when metal ones can be pounded into the ground in a matter of minutes. Just about any soft, bendable, metal can be used in place of hog rings and t-post clips, but I would advise against any material besides metal as it doesn’t hold up to the elements. Aluminum fence supplies are easy to work with because the metal is soft, bends easily, and doesn’t rust.
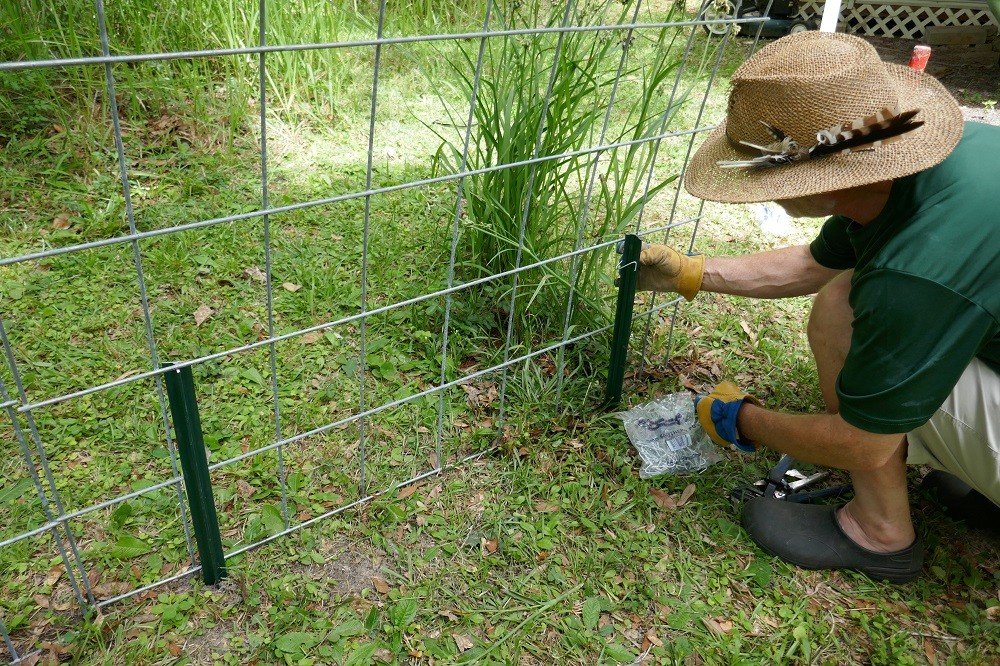
Once you decide where to erect your trellis, the panels can be ‘dry-fitted’ to the area, and are relatively easy to position. Next step is to install stakes on one side and tie the panel to the stakes with the t-post clips. We used just 2 stakes per panel, per side. Your helper can hold the one end slightly out of the way so the stake can be hammered into the ground. After you get the stakes where you want them use the t-posts cips and secure the panel to the posts. Once the first panel is wired to the stakes, you’re ready for the second.
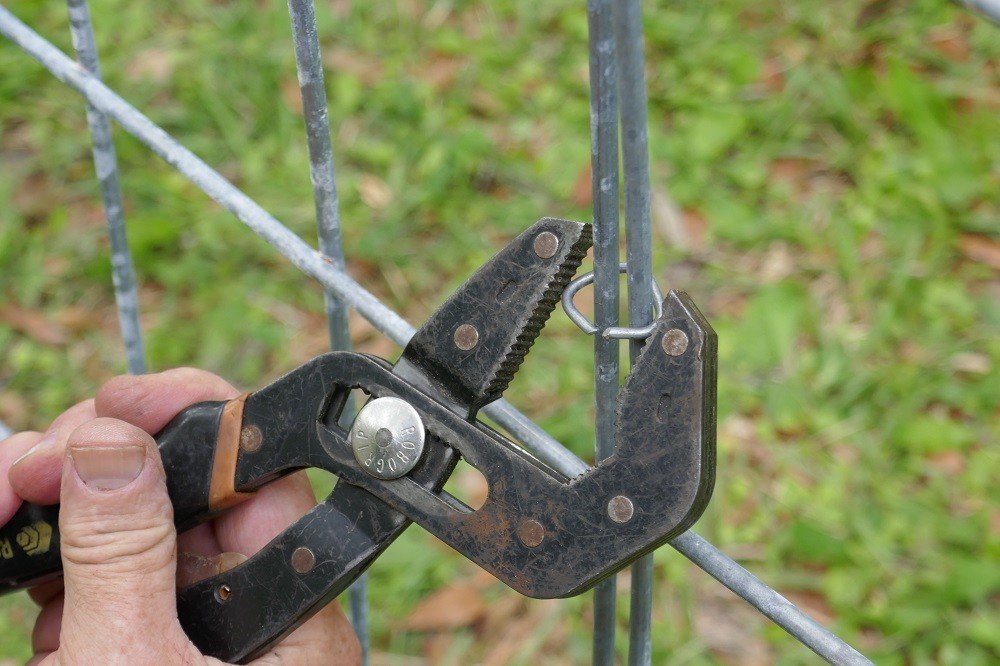
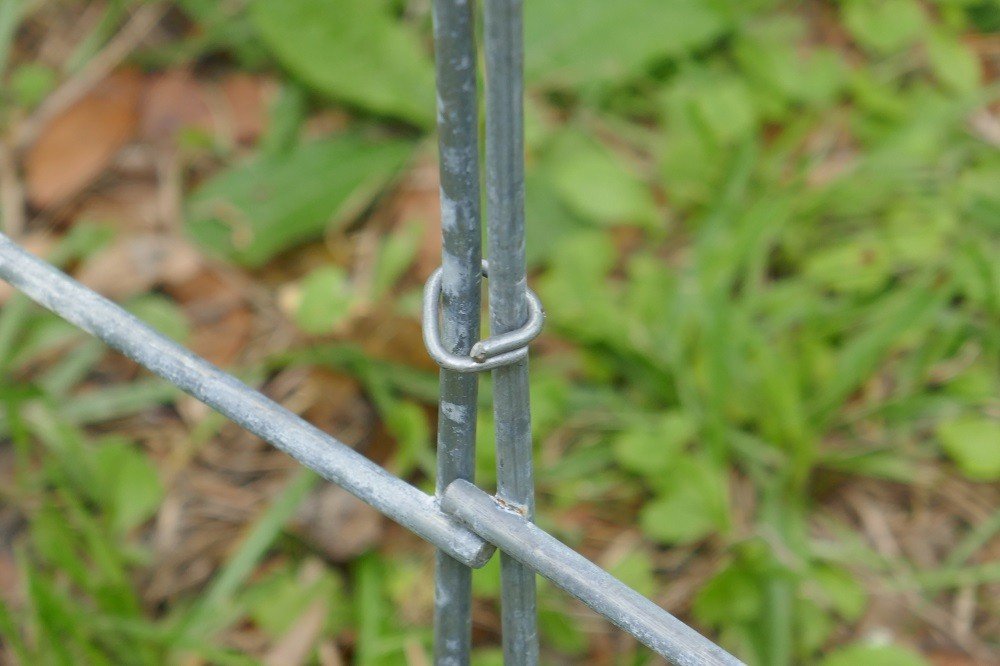
The second panel is even easier because you have already established the width of the trellis tunnel with the first panel. Also, the first panel will provide structure and stability while you grapple with the second panel and its stakes. Secure this panel as you did the first one, then grab your hog rings and pliers because the last step is securing the panels together. This is actually an easy to do step, and it very effectively turns the panels into a single, solid unit. It is best to start the hog rings starting at one side and moving up to keep the panels aligned. It is also best to complete one side of the tunnel first to keep the alignment straight.


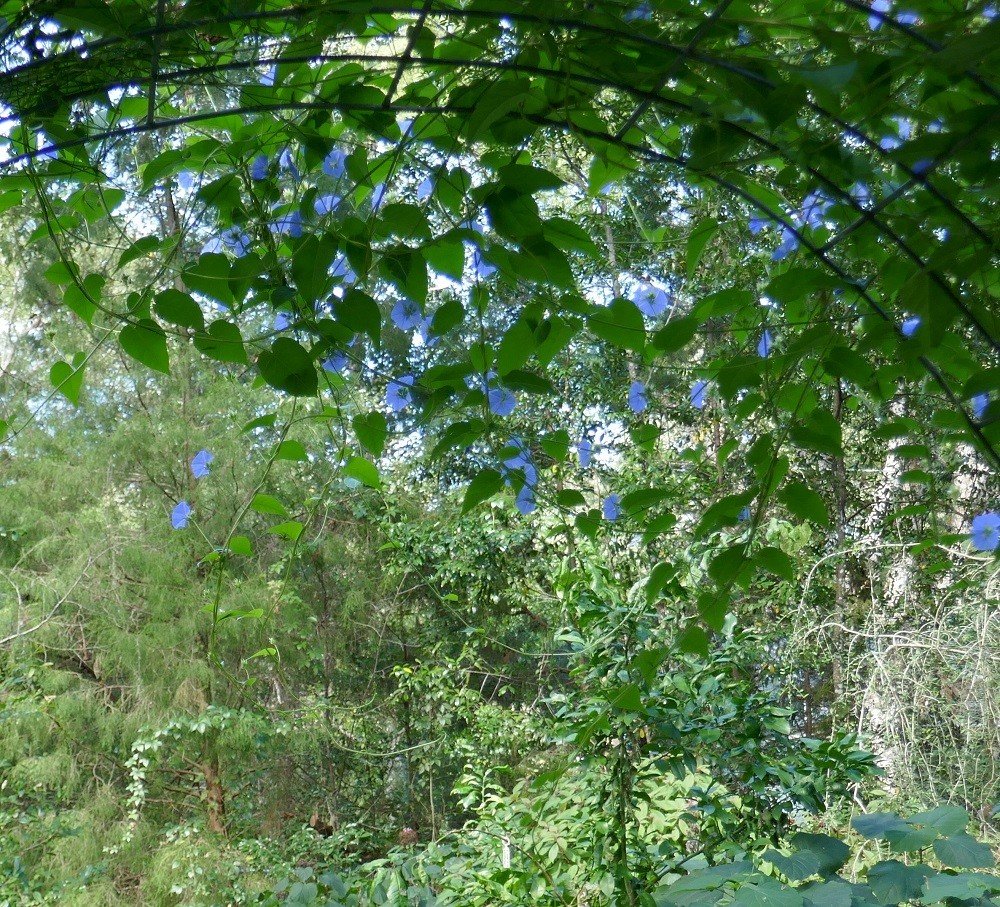
So no matter what you grow on your trellis it should give you years of happiness and joy because it is just so darn sturdy and dependable. I generally grow flowers on mine, but do occasionally plant veggies on them. Using garden tunnel trellises adds a whole other dimension to your green space and is a great way to create vertical growing space as well as avenues directing visitors from one focal point to the next in your garden. Enjoy your trellises and have a great garden!