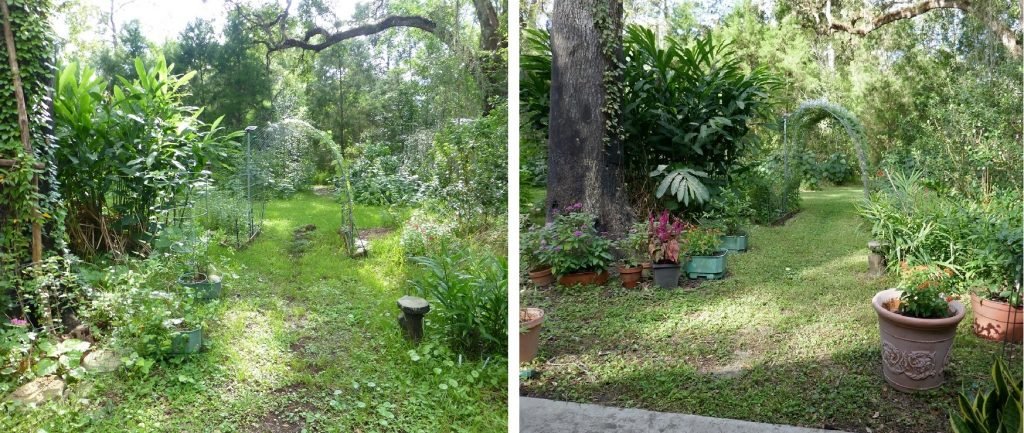
4 Steps to Tidy up a Garden Path
Take Into Consideration the Use of the Space
First, and foremost, consider how you want the path to look and function. Will the space be a walking path that only needs be wide enough for foot traffic? Does it need to be wider to accommodate a golf cart or utility cart? Does it need to be wide enough to accommodate a picnic table or seating area? Are there wildflower seed heads that the wildlife will use for food that need to be left for a few weeks? Are there seed heads that need to be left to mature so they can be collected for your future use?
If it’s merely a walking path then a single strip can be mowed and existing wildflowers, and plants, can be left in place along the borders. If it needs to be wide enough for a small vehicle or seating area then the plants, or overhanging branches, may need to be trimmed or moved. If the wildflower seed heads are being left for the wildlife, or later use, then it will be need to be revisited in a few weeks.
When tidying up a wider area to make room for a seating arrangement consider the plants along the edges. They may not be well suited for the area if they will grow out into the cleared space. Also, if they produce blooms that attract pollinators such as bees or wasps they will be aggravated by human traffic and interfere with your enjoyment of the area so they are best moved to other areas of your property.
Take the time to envision yourself using the space because it will pay off in the long run with easier maintenance and a much more enjoyable use of the area.
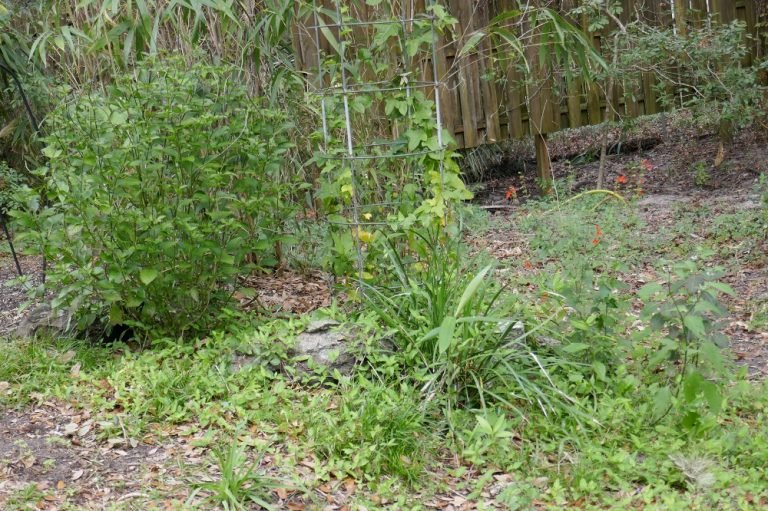
Evaluate, and Move, Volunteer Plants
During this tidying up session I moved some plants that were in the middle of the path to the borders and since it was a hot, dry, day I set up my Bird Mister when I got done to do double duty … water the transplants and give the birds the chance to take baths in the cool water mist of the spray on a hot day. The butterflies even join in with a quick flight through the spray.
In this instance I had spiderwort, red salvia, and milkweed volunteers that I could use to provide for the pollinators and butterfly larvae so I transplanted them to the edge of the path rather than mow them off. None of those particular wildflowers gets very large so were the perfect fit to be kept in the same general area. Free plants … instant color … and added interest along my path. Pulling out several large weedy plants left the perfect spot for the transplants to be moved to.
Consider the mature size of the plants if you’re moving them to the edge of the immediate path. You don’t want them becoming a maintenance nightmare by growing out into your space and requiring constant trimming. I also had a volunteer persimmon tree that I dug up and put in a pot to be used at another time because I knew it would grow to be larger than the area could accommodate.
The Best Way to Minimize Stress On the Plant When Moving a Plant
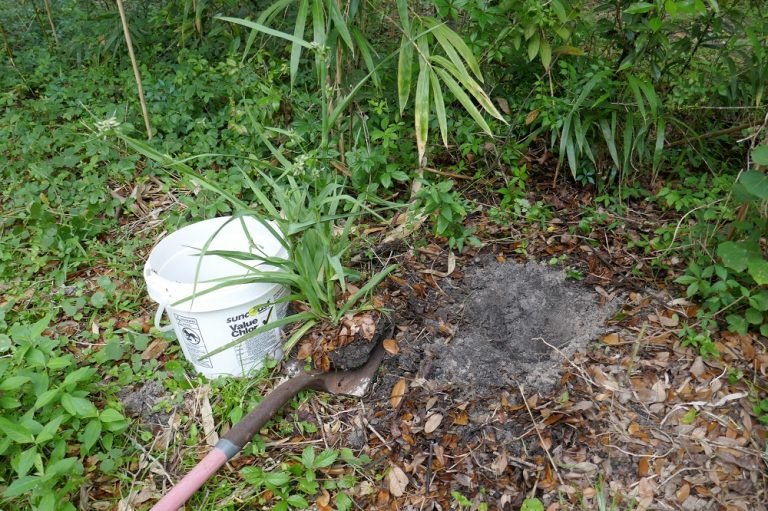
The best way to minimize stress when moving a plant is to dig up a large enough clump of soil with the plant making sure you disturb as few roots as possible. Once you find the plant you are moving, and the spot where you’re moving it to, get the planting spot ready by creating your planting hole. In the area where you’re going to move it to dig the same sized clump of soil to make the switch. Dig your first hole and place that soil in a bucket, or next to the plant you’re moving. Dig up the transplant by starting with several chops of the shovel about six inches away from the plant in a circle directly around the root base so any roots will be cut through and the clump can be removed in one piece. Once your transplant is free place that clump to your new planting hole making sure it is the same level as the surrounding soil.
Now take the dirt from the first hole and place it in the hole you just made from moving the transplant. The hole is filled in, the plant has had little root disturbance, the landscape should look as if undisturbed and ready to mow.
Clear Weed Seed Heads and Debris
I buy black oil sunflower seeds in forty pound bags and recycle the empty bags in the garden. The bags are tough, and free, the stalks of many weeds are stiff and cut through most garbage bags, but the sunflower seed bags are tough enough to handle them so they are a bonus for cleaning up the gardening debris that can’t go in a brush pile. In the path in this article I have a problem with Sida and Caesar weed plants reseeding so I trim off the seed heads and throw them out rather than risk them reseeding in other areas on the property. The more diligent you are about removing the ripe seeds the less problem you will have of them taking over an area with seedlings. Of course if you are in the garden more often than I am you can pull out the seedlings as they come up or remove the flower heads before they have the chance to get pollinated.
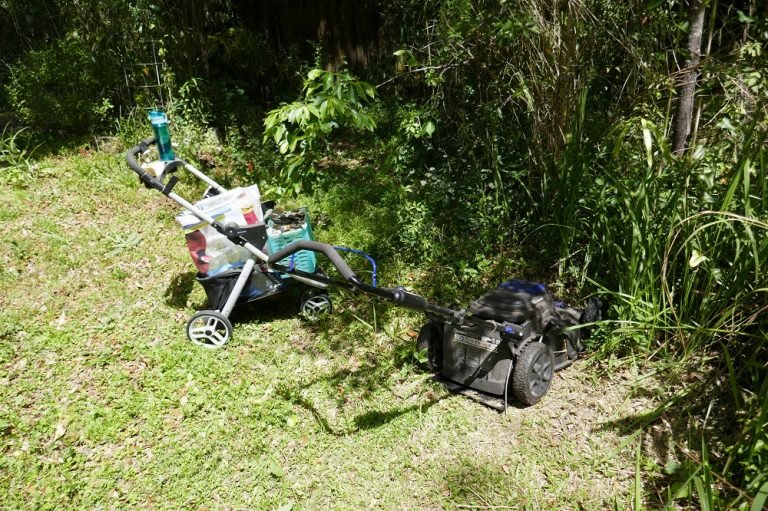
I got tired of hauling a wagon around my paths so created my own garden cart by tweaking a baby stroller to suit my needs. It is easier to maneuver than a wagon because it’s designed to be pushed rather than pulled and it is lighter in weight. I got mine at the thrift store for less than ten dollars.
Finish clearing the area of larger debris like limbs and branches because they will damage your lawn mower. They can be collected and placed in a brush pile or underneath surrounding plants to provide nutrients and shade for the root systems. If you have any large limbs they can be placed as border edges as long as they are easy enough to mow around.
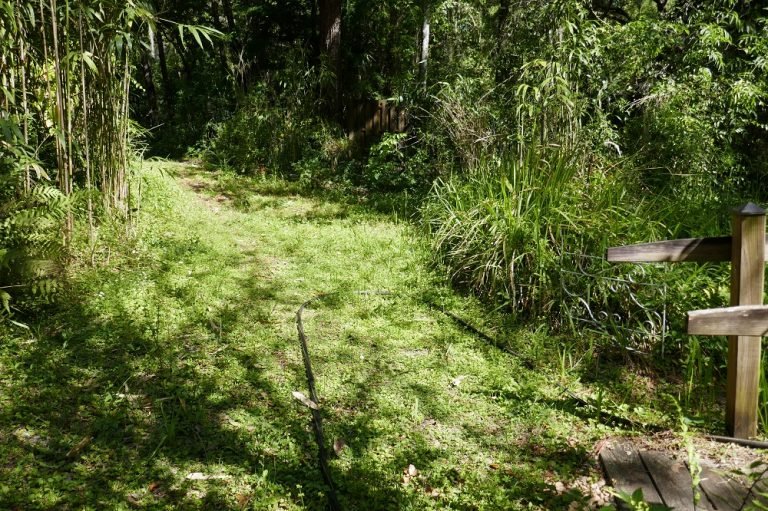
Mow The Path and Admire Your Work
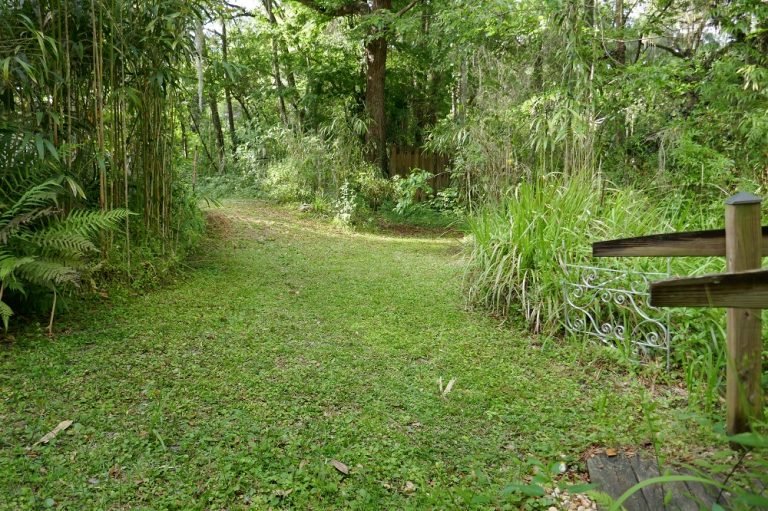
When you start to mow go along the edges first to define your boundaries and give yourself a clear border to work with. In the spring I leave my paths natural to produce wildflowers to admire and provide food for the wildlife. When I start to tidy up the space I consider this and use the exhaust from the mower to blow any seed heads into the center of the path. This will provide seeds for next year’s crop without anymore work on my part.
Mowing right up to the base of existing shrubs and trees will give a nice finished look. It won’t be perfect, but it will tidy it up enough to be passable for most … and certainly perfect for the wildlife who don’t mind if it’s not manicured perfectly. Push the mower up underneath overhanging branches and limbs, but be careful not to damage any in the process. You can also lift the front of the mower and place it directly down very close to the base of the plant to trim closer rather than trying to push around it and risk catching it with the wheels.
Borders are really overrated! Weeding on your hands and knees is avoidable! Having an electric push mower that can be started with the push of a button is the best thing I’ve ever had! It makes mowing so easy because it can be turned on in an instant … whenever I need it and it’s as tough and sturdy as a gas mower!
Granted it’s not a showcase landscape, but it works great for me because I can actually get it done … MS be damned!
Gardening and landscaping with MS is challenging, but I have come up with a balance that works for me … it might work for you as well.
Now put the mower away and enjoy the space! Get a cup of tea and relax and watch the wildlife!